It only takes half a minute on Pinterest to know that farmhouse tables are in. And I mean really in. My husband and I both have big families, so we wanted a table that seats at least 8 for those crazy holiday gatherings. The farmhouse table was the perfect solution. But being on a beans and rice budget means that we were not about to drop two grand on a table (seriously, look up how much these tables cost at Pottery Barn!). That meant another DIY project was in the works.
Thankfully, there are lovely people on the internet who have already done this project so we didn't have to invent the wheel. In fact, Ana White has a detailed, wonderful farmhouse table plan that we used. Aside from changing dimensions to fit our dining room better, we used her plan as our project blueprint. And we completed the whole thing for probably less than $200 (way better than $2k!).
Although our dining room is still due for a makeover (more to come on that soon!), it can now comfortable seat either of our families.
Table Legs: check!

Frame: check!

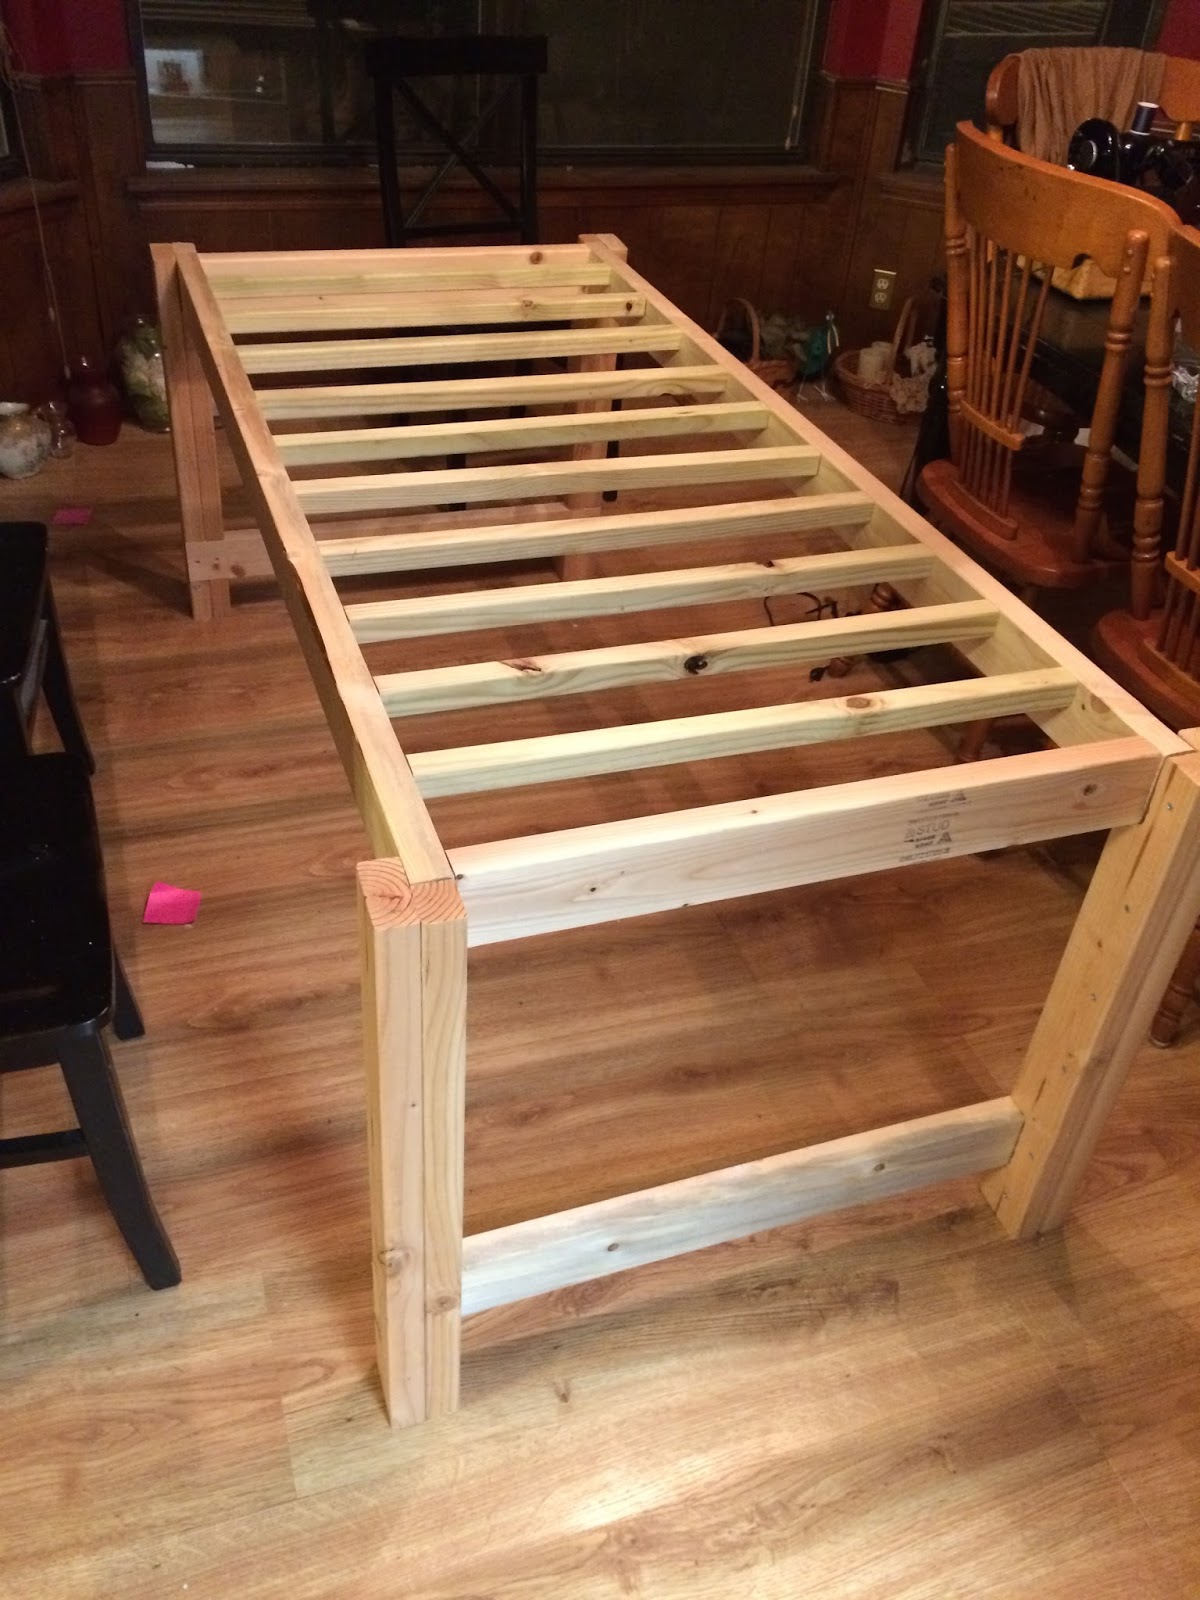
Table top: check!


Stain, round one. We used Antique Walnut first. It turned out beautifully, but a bit lighter than we were hoping for.


So we added another layer of Dark Walnut stain (one of my personal favorites!)


This gave it the darker, richer wood color we were looking for.


After two coats of satin polyurethane, the table was ready for use and has been a great addition to the dining room!


