Showing posts with label DIY. Show all posts

Friday, June 12, 2015

Farmhouse Dreams

I may love living "in town" as we used to call it, but I'm a country girl at heart. I love the city and suburban life, but I also crave those wide-open spaces and rustic farmhouses. So instead of packing up and moving into the boonies, I took the more practical approach of bringing the farmhouse feeling to our little home.

It only takes half a minute on Pinterest to know that farmhouse tables are in. And I mean really in. My husband and I both have big families, so we wanted a table that seats at least 8 for those crazy holiday gatherings. The farmhouse table was the perfect solution. But being on a beans and rice budget means that we were not about to drop two grand on a table (seriously, look up how much these tables cost at Pottery Barn!). That meant another DIY project was in the works.

Thankfully, there are lovely people on the internet who have already done this project so we didn't have to invent the wheel. In fact, Ana White has a detailed, wonderful farmhouse table plan that we used. Aside from changing dimensions to fit our dining room better, we used her plan as our project blueprint. And we completed the whole thing for probably less than $200 (way better than $2k!).

Although our dining room is still due for a makeover (more to come on that soon!), it can now comfortable seat either of our families.


Table Legs: check! 

Frame: check!


Table top: check!


Stain, round one. We used Antique Walnut first. It turned out beautifully, but a bit lighter than we were hoping for. 


So we added another layer of Dark Walnut stain (one of my personal favorites!)


This gave it the darker, richer wood color we were looking for. 


After two coats of satin polyurethane, the table was ready for use and has been a great addition to the dining room! 

Monday, April 20, 2015

DIY Upholstered Headboard

In the process of redoing our first guest room, I found some darling headboards on Pinterest that I was convinced were necessary for the room to be complete. As always, they turned out to be much more expensive than I hoped so it was off to our trusty Home Depot store. Really, they should give us a discount for practically keeping them in business.

After a 2x4 and some plywood, I headed to Hobby Lobby with a 50% off coupon and got furniture tacks, foam, and some great neutral fabric with a slight shimmer woven in.


1. Measure your bed frame and decide on dimensions for your headboard. I always have the nice people at Home Depot cut it for me!

2. Secure the pieces of 2x4s to the plywood. Be sure and cut these according to the height that they need to be to touch the ground.


3. Cut the foam to fit the plywood and secure with glue. I used fabric glue, but any will work since it will be help down by the furniture tacks and fabric!


4. Cut your fabric to cover the plywood and foam. Be sure to leave several inches on each side, as the fabric will shorten as you put the tacks in.

5. You can apply the furniture tacks either before you secure the fabric to the board or afterwards. Either way, they are a bit hard to secure so you may want to use a hammer!


6. Secure the fabric by wrapping it around the back and using upholstery staples to attach it to the back of the plywood.


7. Stand the finished headboard up behind the bed and use a pen/pencil to mark where the screws would need to go to attach it to the bed frame. Then use a drill and bit to drill holes in the 2x4 pieces. Be sure to use the largest bolt possible to secure the headboard to the bed frame and put a nut on the back!


And wah-la!


Saturday, June 14, 2014

Bathroom Makeover Part 2: The Great Wall

After several months of work, our master bathroom is finally done. (or at least close enough to blog about it!) If you missed the first part of the bathroom remodel, you can read about it here.

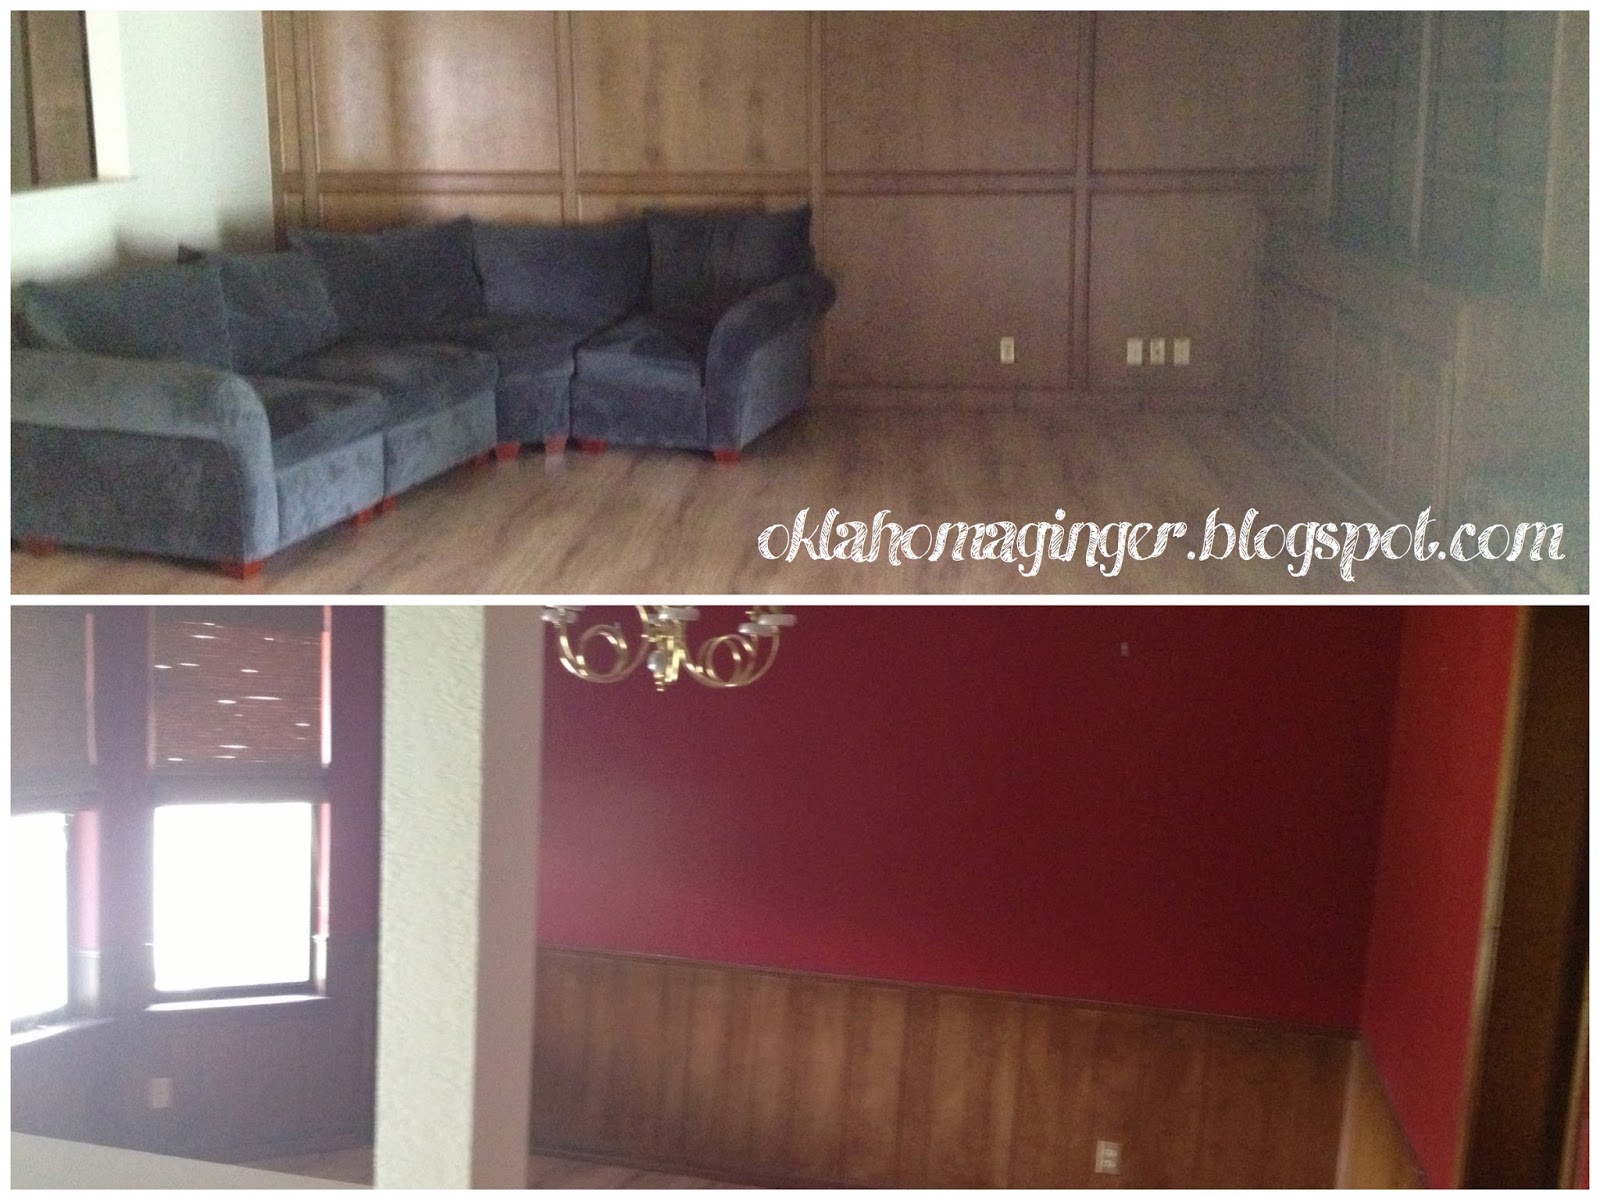
The biggest thing we had to tackle next was the outdated style of the vanity/sink area- it was completely open to the rest of the bedroom. Just like the popcorn ceilings, this style is best left in the 70s. And that meant wall building time! 


The goal: enclose the bathroom from the bedroom and install a door in the wall. It definitely wasn't a fast-moving project. And also one that we will NEVER tackle again. Here's a condensed version of the play-by-play:

1. Measuring. I thought this step would be easy, but you'd be surprised how many times you have to measure the opening to get the correct figures for all the pieces that go into the wall. And of course, factoring in the space for the door.  
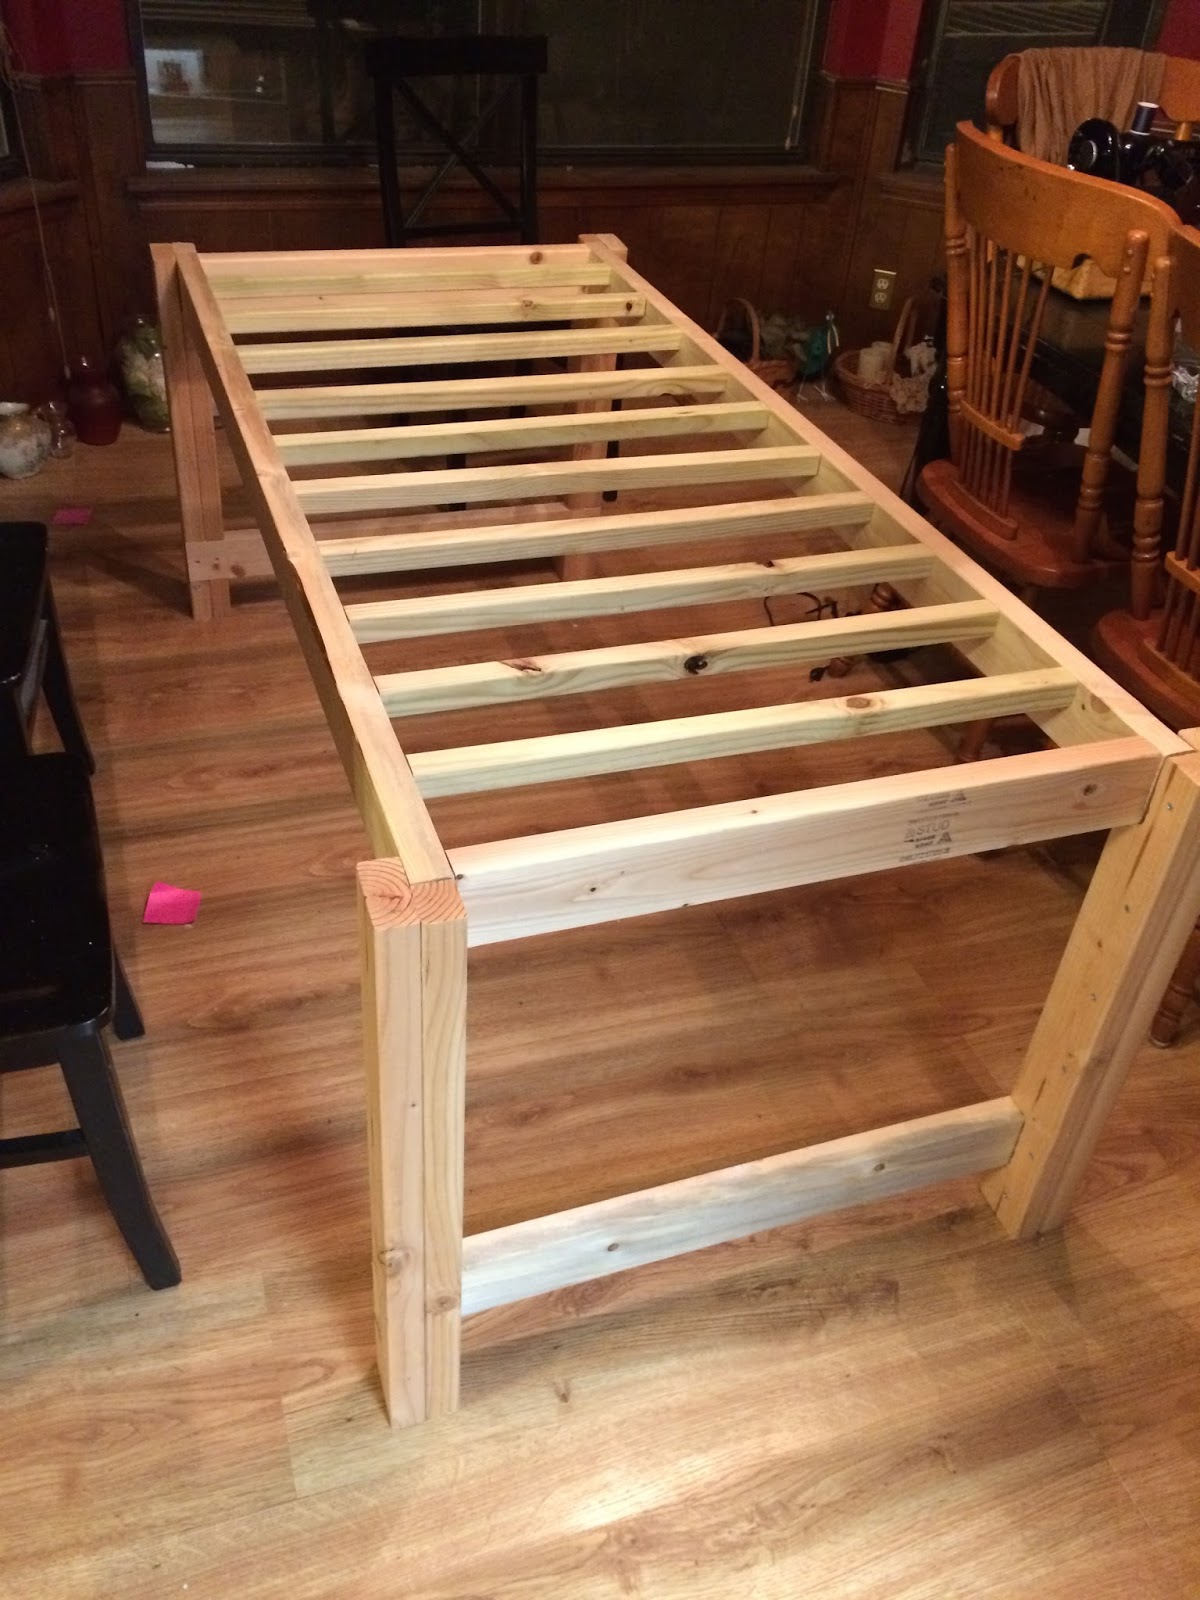

2. Building the frame. This went well until we realized that we measured slightly off even after thousands of tries. Thank goodness we only live a couple miles from Home Depot! (and they are INCREDIBLY helpful) After much toil, we finally got the frame assembled and ready to install.


3. Removing floor tile. Turns out that to build an interior wall, it needs to be anchored to the foundation, not the tile or flooring on top of the foundation. This means we had to remove a couple tiles. It may sound easy, but this took almost as long as the wall building itself!


3. Installation and anchoring. This part wasn't as challenging. We left .25" for drywall and then nailed the frame into the side walls and the foundation. To anchor into the foundation, my dad let us borrow a contraption that uses a bullet to shoot a nail into the concrete foundation. WHOA. That's when we should have known we were out of our league. But like all first-timers, we gleefully pressed on.  


4. Drywall. Thank goodness the steps started getting easier after the frame building or we may have thrown in the towel. Measuring and cutting the drywall was a little time consuming (again with the multiple measuring), but at least the installation was easy. Drywall, check.


5. Joint compound and tape. I definitely didn't even know this step existed until I started wondering what filled in the cracks between drywall pieces. You guessed it, joint compound and drywall tape! The compound is like thick putty and can make a huge mess if you're not careful (oops...). The tape goes on after filling in the cracks. Then two more layers of compound and on to the texture.


6. Texture. This part was tricky and involved a lot of YouTube searching. Basically there were two options for getting the knockdown texture that we needed to (somewhat) match the original surrounding walls.  A) Buy a $200 texture sprayer (NOPE). or  B) Figure out how to DIY (winner!). I used the "Target bag" method. I know, it sounds so professional. Basically you spread on a medium layer of compound and then smash a target bag into it and pull it off to form peaks in the compound. Let it dry for approximately 35 minutes (time varies by compound thickness) and then go back with a trowel and scrape off the top of the peaks. Wall-ah!


Tuesday, May 27, 2014

Bathroom Makeover: Part I

As many of you have probably discovered with home projects, they take about twice as long and cost twice as much as you think they will (bummer!). But man, when one gets done, it's a great feeling! We had this sigh of relief recently with our first home makeover project in the new house - the master bathroom.

The master bathroom definitely left a little to be desired when we started. First of all, the sink and vanity area was completely open to the bedroom. Such a staple of 80s houses.

View walking into the master bedroom. 
To the left is the toilet/shower & to the right is the closet. 

Toilet and shower area (the left). 
Don't mind our messy closet! (the right)

Ugly mirror, ugly cabinets, and ancient vent and light switch. Needless to say, we had our work cut out for us. We started off by fixing the little things. 

New light switch
and new vent/light combo!

Turns out, electrical wiring is a mystery meant only for geniuses and definitely not for us. Good thing Dad knows a lot about wiring! The late night frantic phone call went something like this:

Me: "Okay, there are 3 black wires and 1 white wire coming out of the wall and we have a red, blue, yellow and black one on the switch. HELP." 


 And somehow he knew exactly what to do. Genius! With only minor frustration, we got the new vent and light switch in. Oh, and some minor surgery on the opening in the ceiling.


Next, that mirror. Nothing can ruin a bathroom like an ugly mirror and I hate the plain Jane mirrors with no character. Especially when they are cemented to the wall. After reading some tutorials on how to remove a mirror without shattering it and inevitable getting speared with breaking glass, we were ready to go. 

Tape on mirror to prevent shattering? Check. Protective eye wear? Check. Then we pried and prayed it wouldn't break. And with some luck, it came off the wall in one piece. Who knew they used so much glue to hold up a mirror?! It even took some of the texture and drywall off with it. Good grief. 


Next came paint, which was fairly easy. In place of the sandy brown/tan/pinkish/yellowish terrible color, the bathroom is now a pleasant light blue (pic above on the right). 

The next big issue was to somehow make the bathroom not completely open to the bedroom. And you probably won't believe me when I tell you what we did. Stay tuned for part 2 and updated pictures. That is, if we make it out alive! 


Monday, September 2, 2013

Our House, Our Home

Most of you know that Seth and I recently (three-ish weeks ago) bought our first house. We knew when we got married that we didn't want to rent for more than a year if possible, thanks to some good advice from Dave Ramsey. So we started saving as soon as we got married and prayed that we would find the right house when the time came along.

About 7 months into our lease we decided that we should start the house hunt. Since we were first time home buyers, it was all rainbows and butterflies at first. Looking at houses was FUN and something we filled all of our free time with. My grandma works in real estate and recommended a phenomenal agent for us who saved our lives multiple times throughout the process. She took us to look at houses several times a week and was probably about ready to block our numbers by the time we finally found the one.

By July, we had it narrowed down to 2 houses. And we were very much over the house hunting process (trust me, it loses its luster more quickly than you think). We had looked at them a couple times and gone over and over all the details on a daily basis. Basically, we couldn't decide. I was about ready to throw in the towel when one more house popped up on our listings. It was a modest, three bedroom that looked at least slightly promising. So I called our agent that night and she showed it to me the next day.

Seth couldn't get off work so I sent him a virtual tour as we went through the house (isn't technology great?). When I got home, I asked Seth what he thought. Then, out of the blue, without having even seen it, he said, "I think we should get it." I was shocked to say the least. After asking "Are you sure?" about twenty times, we called our agent and made an offer. They made a counter offer and we made several negotiations along the way, but overall things went smoothly.

Finally, after months of searching, we closed on our very first home on Monday, August 6th, 2013.


 It's nothing fancy, but it's full of fun potential. And most importantly, it's now where we call home :)


The kitchen/breakfast nook with a wonderful brick arch over the stove:


The living room (with previous owner's old couch) and formal dining room:


The master bathroom with its weird tile floor and open vanity bathroom (toilet/shower to the left, closet to the right):


Two guest rooms and the guest bathroom:


Stay tuned for a plethora of DIY home improvement blogs from two clueless new homeowners!

Monday, February 11, 2013

Things I Don't Buy: Laundry Soap

You've probably seen all the pins about homemade laundry soap on Pinterest. Genius. Talk about saving money. The problem? All the recipes I tried were for liquid laundry soap, which involves boiling, mixing and cooling. Altogether, a good forty-five minute process at least. Ain't nobody got time for that.

So I started on a mission to find a homemade laundry soap recipe without all the hassle. I found this one on Pinterest, and with a slight modification, it was perfect.  

Here are just a few of the pros about this recipe:

It's powder instead of liquid, so it goes A LOT further.
The whole process of making it took about 15 minutes.
There is no measuring, boiling, etc.
It can easily be made into an all-natural laundry soap just by using some type of organic bar soap.
It is CHEAP to make (perfect for poor newlyweds!)

Ingredients: 
  • 1 large box (4.75lbs) of Borax - $3.38
  • 1 large box (4lbs) of Baking Soda - $2.24
  • 1 large box (3lbs 7oz) Arm & Hammer Washing Soda - $3.24
  • 3 bars of your favorite soap
  • a big container for your detergent (there's another picture of the one I used at the end!)


Instructions:
  1. Add all the ingredients except the soap to a large container and mix well. 
  2. Grate the soap and then add it into the mixture.* 
*This is where I changed the recipe up a little. If you have ever grated soap, it is a terrible process that takes forever and usually results in more missing skin on my hands than grated soap in the bucket. So, I decided to try a little experiment. 

First, I chopped up the soap into small(ish) pieces with a kitchen knife (don't worry, soap is surprisingly easy to chop up). 


Then I stuck it in my Black & Decker Handy Chopper and let it do the grating for me! Talk about a life and time saver. 


Once the soap is chopped up into fine pieces, add it to your mixture and you're done! I used Zest soap, which made the mixture (and my clothes after washing them in it) smell AMAZING. 


It only takes about 4 Tablespoons (1/4 cup) per load, so the batch of detergent last a LONG time. Not to mention it was so much cheaper than store-bought detergent! 

Here is the finished product as well as my sweet Daisy peeking in the backdoor. 
She hates anything that doesn't involve her getting all the attention :)